The AeroPress is a hybrid. It steeps like an immersion brewer, then filters under pressure like a very gentle espresso machine. That combination gives it an unusually wide operating range: the same device makes a clean, tea-like filter cup, a thick concentrate for iced drinks, and everything in between. The trade-off is that "AeroPress recipe" means almost nothing on its own — the results depend entirely on which variables you pinned down.
What the pressure actually does
The pressure from a hand plunge is not comparable to a pump-driven espresso recipe and depends on force and configuration. It is not enough to emulsify oils or build crema, but it is enough to push water through a fine bed quickly and to squeeze the last liquid out of the slurry. Practically, that means you can grind much finer than a pour-over would tolerate without waiting five minutes for a drip. Fine grind plus short contact time is the AeroPress's signature trick, and it is why the brewer produces sweet cups from beans that taste flat elsewhere.
Recipe one: the everyday standard
- 15 g coffee, medium-fine grind, rinsed paper filter.
- Chamber upright on the mug, coffee in, 200 g water at 90 °C.
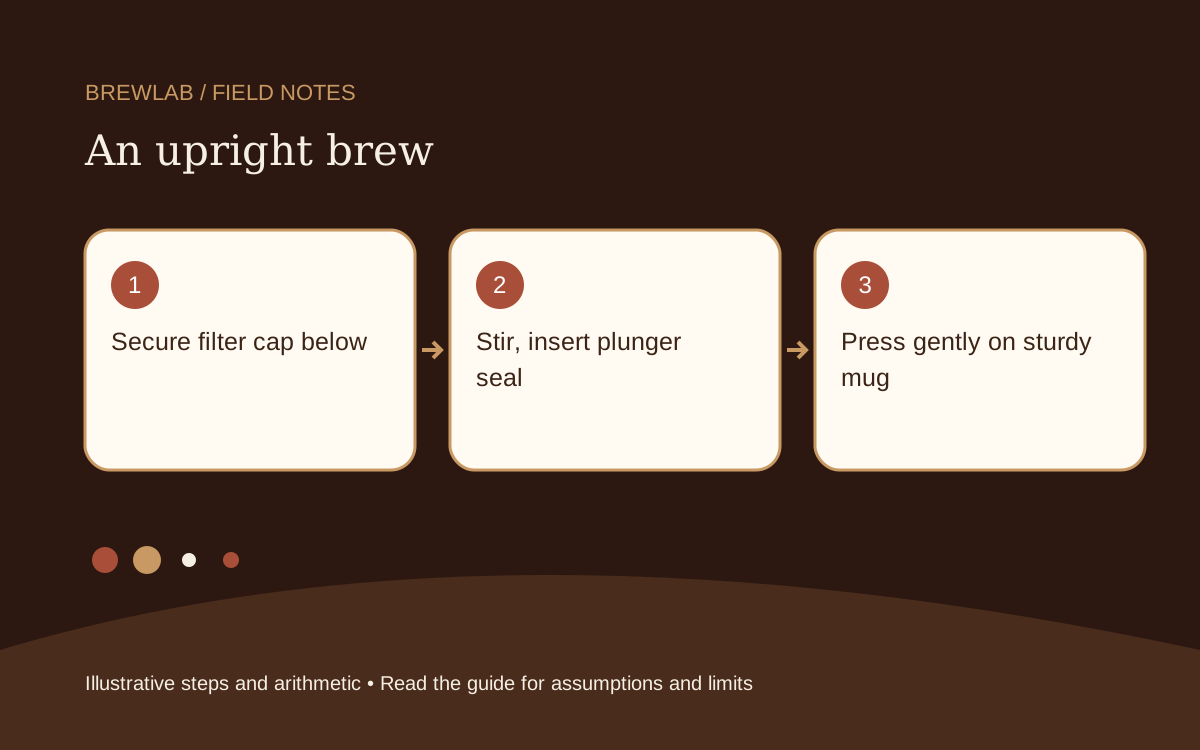
- Stir gently; insert the plunger seal slightly into the top to limit drip-through, then steep 90 seconds. The filter cap is already attached at the bottom.
- Press slowly over 30 seconds. Stop at the hiss.
This uses a 1:13.3 input ratio; collected beverage will be less than the 200 g water poured — stronger than a pour-over, lighter than concentrate. It suits medium roasts and forgives slightly stale beans.
Recipe two: longer upright steep
A longer steep can be compared without turning a hot brewer upside down. The manufacturer discourages the inverted method because instability and hot-liquid spills can cause burns. Use a sturdy mug and follow the current instructions for your model.
- 18 g coffee, medium grind, filter cap secured underneath, brewer upright on a sturdy mug.
- 250 g water, if within your model’s capacity; hold temperature constant for the comparison.
- Stir, insert the plunger seal slightly into the top to limit dripping, then steep two minutes.
- Press gently while the brewer remains upright on the mug; stop if it resists and consult the instructions.
Hot-liquid handling, a stable mug and correct assembly all matter. Do not press onto thin glass or exceed the brewer’s capacity.
Lower water temperature is the AeroPress's underrated dial. Compare a lower temperature with your usual recipe while holding dose and grind constant; the taste response varies.
Recipe three: concentrate for iced and milk drinks
- 25 g coffee, fine grind (just coarser than espresso).
- 90 g water at 92 °C, stir well, steep 60 seconds.
- Press with gentle, steady force over about 40 seconds into a glass with 100 g of ice.
This lands near 1:3.5, thick enough to stand up to milk or to dilute over ice without tasting watery. It is the fastest route to a decent iced latte without an espresso machine, and it is the recipe most worth owning a scale for, because small dose errors move the strength a long way.
Paper, metal or both
The stock paper filter gives clarity and removes almost all oils and fines. A metal filter passes oils and gives a heavier, slightly hazier cup closer to a French press. Some people stack both: a metal disc under a paper circle, which barely changes flavour but stops the paper sticking to the cap. Paper filters can be rinsed and reused several times; the flavour penalty is negligible until the paper starts to tear.
Variables in order of impact
- Grind size — the coarse-to-fine range here is enormous, and it changes everything.
- Ratio — anywhere from 1:3 to 1:16 is legitimate; decide what drink you want first.
- Temperature — the cheapest way to tame bitterness without weakening the cup.
- Steep time — real but smaller than people assume, especially past 90 seconds.
- Plunge speed — slow and steady; fast pressing forces fines through the paper.
Bypass brewing
A useful habit borrowed from competition: brew a strong, short concentrate and then dilute it in the cup with hot water. Because the brew itself never runs long, you avoid the bitter compounds that come out late in extraction, and you control final strength independently by how much water you add. Try 20 g coffee with 120 g water, pressed at 1:30, then topped up to 240 g. Compare it with a straight 1:12 brew; bypass changes strength and contact conditions, not a guaranteed cleanliness score.
Care and travel
Eject the puck immediately — it pops out as a dry disc and the chamber wipes clean with a rinse. Store the plunger separated from the chamber so the rubber seal does not stay compressed; a flattened seal is the usual cause of a leaky AeroPress after a year. Replacement seals cost very little and restore the brewer completely.
Separate input ratio from cup yield
The 15 g/200 g recipe has an input water ratio of 1:13.3. Grounds and the filter retain liquid, so do not promise a 190 ml cup without measuring the actual output. If you collect 170 g and add 50 g bypass water, record 220 g served and the original 200 g brew water separately. This example is arithmetic, not a prediction for every model or coffee.
References and scope
Reviewed November 5, 2026. References support the named background topics; the comparison plans and arithmetic above are illustrative, not claimed equipment tests. Follow the instructions for your own equipment.