Doubling a recipe starts with multiplication, but it does not end there. More coffee and water may change bed depth, available headroom, the pouring pattern and the time needed to serve everyone. The useful question is not whether every number should double. It is which numbers describe ingredient proportions, which describe the equipment, and which describe observations that need to be measured again.
Begin with a recipe you can already repeat at its original size. Write down coffee dose, total input water, brewer and filter, grind setting, temperature and the meaning of the timing convention. This article adds a batch worksheet and a decision process, rather than another single-serving V60 recipe. All scaling examples are hypothetical planning calculations, not results of testing a particular brewer at different sizes.
Preserve the ratio explicitly
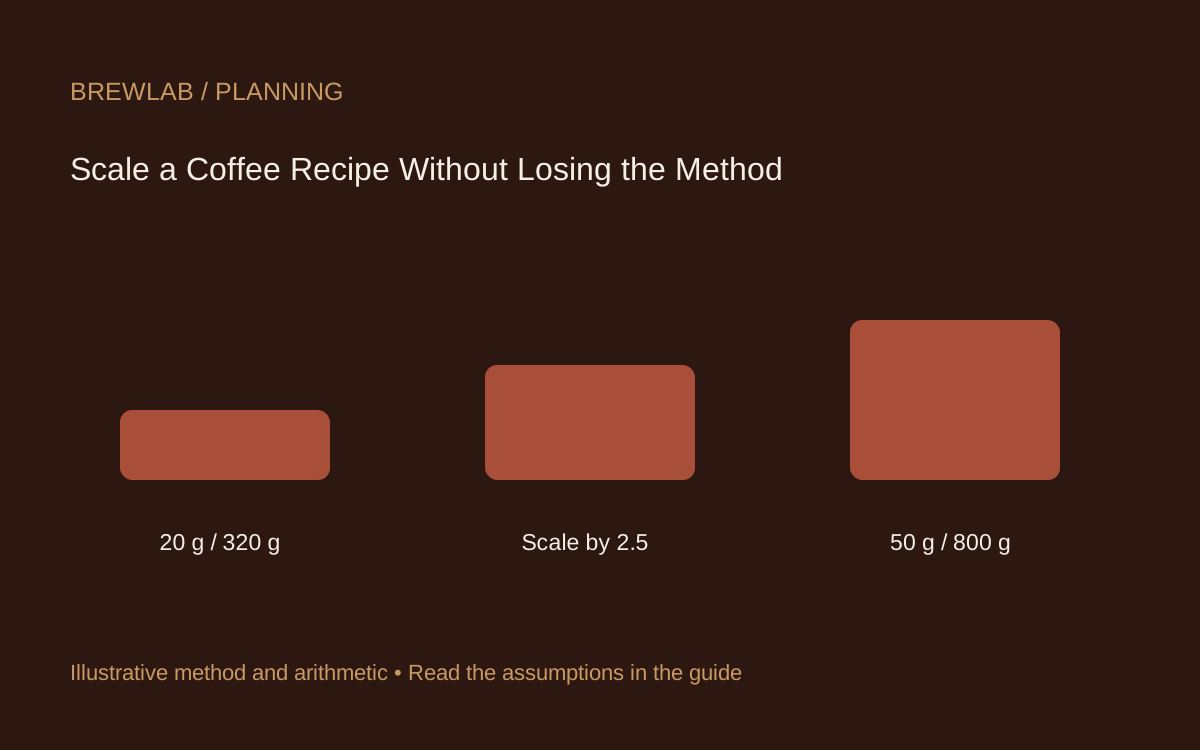
Suppose the original recipe uses 20 g coffee and 320 g water. Its coffee-to-water ratio is 1:16. If the new water target is 800 g, the scaling factor is 800/320 = 2.5. Multiply the coffee by that factor to obtain 50 g. BrewLab’s recipe scaling tool returns those quantities while keeping the original ratio visible, so you can check the output before weighing anything.
The equation only preserves ingredient proportions. It says nothing about whether your cone holds 50 g of coffee comfortably, whether the server can accept the beverage, or whether your kettle has enough usable water. Those are separate checks. A calculator that presents a mathematically valid batch should not be interpreted as permission to exceed the capacity or operating instructions of the equipment you own.
Define what a serving means
Four people asking for a cup does not give you a precise water target. Ask whether they mean four small tasting cups, four mugs filled to the rim, or coffee that will be lengthened with milk. Decide the intended beverage quantity before selecting a batch. Do not use the brewer’s nominal cup count as if every manufacturer and household used the same serving size.
Input water is not collected beverage. For an illustrative immersion estimate, 50 g coffee, 800 g water and an assumed 2 g retained water per gram of coffee would leave about 700 g liquid before other losses. That is a planning approximation, not a promised yield. Dissolved material, filtration and drainage complicate the balance. Weigh what you actually collect if consistent serving quantity matters.
Read the original pouring language
A recipe saying “pour to 180 g” normally describes a cumulative scale reading, while “add 180 g” describes an addition. Confusing the two becomes expensive in a large batch. Write each stage in both forms: amount added and cumulative total. Then check that the additions sum to your intended input water. Reserve rinse water separately; it should not accidentally become part of the brew total.
For an example with 60 g bloom and two equal additions reaching 320 g total, subtract the bloom first. The remainder is 260 g, so each addition is 130 g. Cumulative readings are 60, 190 and 320 g. At a 2.5 scaling factor, the corresponding ingredient additions are 150, 325 and 325 g, reaching 150, 475 and 800 g. These are arithmetic checkpoints, not a validated pouring schedule.
Treat published recipes as complete contexts
Hario’s published Hoffmann technique and its Kasuya interview present different ingredient proportions and pouring approaches. Their existence is useful evidence that “V60 recipe” does not identify one universal schedule. When adapting a source, keep its original context visible and distinguish your modification. Do not combine one source’s water total, another’s grind description and a third’s timing target while calling the mixture a direct reproduction.
The same caution applies to temperature and time. Multiplying ingredients does not provide a physical law requiring total brew time to scale by the same factor. Record the first larger brew rather than declaring its expected finish mathematically. If the equipment instructions or a brewer-specific recipe give a suitable range, use that as context and still pay attention to overflow, flow and the cup.
Check capacity before heating
Set the empty assembly on the scale and confirm it is stable. Check the scale’s capacity against the complete assembly, ingredients and any vessel resting on it. Tare does not remove physical weight from the load cell. Make sure the server has enough room and that the brewer is supported appropriately. Do not balance a larger brewer on a mug simply because that arrangement worked for a smaller one.
Check kettle capacity and usable headroom without overfilling. Allow extra water for rinsing and preheating if the chosen method requires it. Plan where hot components will rest and how the finished batch will be divided. A second smaller brew may be more practical than pushing a single assembly beyond its instructions. The point of scaling is to serve people consistently, not to maximize the size of one pour.
Make the first larger batch informative
Use the scaled ingredient amounts as your starting point, then note what happens. Record actual added water, any spills or interruptions, the elapsed time and collected beverage mass. Taste a portion at a comfortable temperature before making a change. A longer brew by itself does not identify an error; neither does hitting the old time prove the batch is balanced.
If the result needs adjustment, change one practical variable while preserving the written baseline. For example, compare a small grinder change while holding dose, water and pouring plan constant. Avoid silently changing grind, temperature and the number of pours together. If the server nearly overflows or the bed reaches an unsafe level, resolve capacity first rather than treating the event as a flavour experiment.
Serve and record the actual outcome
Mix the collected beverage gently where appropriate before portioning, and record how much each serving receives. For milk drinks, keep added milk separate from the brewing-water record. If coffee remains, note that as an output of the planning exercise rather than automatically counting it as a full extra serving. The amount brewed, amount served and amount enjoyed can be different quantities.
Keep the new recipe as a separate entry with the equipment and intended group size. On the next occasion, start there instead of reconstructing a scaling factor from memory. You now have a repeatable ingredient plan and a record of what the larger assembly actually did. That combination is more useful than a perfectly multiplied recipe with no check on the brewer, the beverage or the people waiting for it.
References and scope
- Hario USA: recipe context and cumulative pours
- Hario UK: Kasuya recipe with a different ratio and pour approach
Sources checked November 5, 2026. Numerical examples are labelled teaching scenarios, not reported equipment trials. The home procedures do not claim professional certification.