Cupping is the coffee industry's standard tasting protocol, and its whole purpose is to remove variables. Everyone uses the same dose, the same grind, the same water and the same timing, so any difference in the cup comes from the coffee rather than from the brewer's technique. That makes it the fastest way to learn what you actually like — and it needs nothing more than bowls, spoons, a kettle and a scale.
Why bother at home
Because comparison teaches faster than repetition. Brewing one coffee well tells you about that brew. Tasting four coffees side by side under identical conditions tells you what "bright" means relative to "juicy", what a natural process actually smells like next to a washed one, and whether you genuinely prefer Ethiopian florals or just believe you should. Every buying decision afterwards gets cheaper and better.
What you need
- Identical bowls or wide mugs, 150-250 ml, one per coffee (two if you want to check consistency).
- A scale accurate to 0.1 g and a kettle.
- Two spoons per person — deep soup spoons work fine.
- A cup of hot rinse water and a paper towel.
- Something to write on. This part is not optional.
The protocol
- Dose: 8.25 g of coffee per 150 g of water — a 1:18 ratio. Scale it to your bowls and keep it identical across all of them.
- Grind: medium-coarse, slightly coarser than a pour-over. Grind each coffee immediately before pouring and purge a few grams between coffees to avoid cross-contamination.
- Dry aroma: smell the dry grounds and write down whatever comes to mind, even if it feels vague.
- Pour: water at 93 °C, filling each bowl to the rim, saturating all the grounds. Start a timer.
- Wet aroma: smell the crust that forms. It is the most aromatic moment of the entire session.
- Break at four minutes: push the crust back three times with a spoon while leaning in to inhale the released aroma. Rinse your spoon between bowls.
- Skim: remove the foam and floating grounds with two spoons.
- Wait: let the bowls cool to around 70 °C — checking the actual temperature rather than relying on a fixed number of minutes.
Slurp hard. Aerosolising the coffee across your palate carries volatile aromatics up into the nasal cavity, where most of what we call flavour is actually detected.
Tasting in passes
Taste each bowl in the same order, then repeat as the coffee cools. Temperature changes perception dramatically: acidity dominates when hot, sweetness and body emerge in the middle, and defects become obvious when nearly cold. A coffee that tastes wonderful at 70 °C and hollow at room temperature is telling you something real about its structure.
What to record
- Fragrance/aroma — dry grounds and the wet crust.
- Flavour — the overall impression during the slurp.
- Aftertaste — how long it lasts and whether it stays pleasant.
- Acidity — intensity and quality. Citric and bright, or malic and apple-like, or sharp and unpleasant?
- Body — weight and texture on the tongue, independent of flavour.
- Balance — do the parts fit, or does one dominate?
- Sweetness, uniformity, clean cup — usually full marks unless something is wrong.
The legacy 2004-style form used a 100-point structure. Current SCA CVA assessment separates descriptive and affective evaluation; a home practice score is not certification. Home cupping does not require the numbers, but scoring forces you to commit to a judgement rather than writing "nice".
Building vocabulary
Do not chase exotic descriptors. Start with broad categories — fruity, nutty, floral, chocolatey, spicy, earthy — and only narrow down when the impression is genuinely specific. "Fruity, dark rather than citrus" is more useful to your future self than a confident but wrong "blackcurrant". Reference tasting helps enormously: smell a lemon, a bar of dark chocolate and a handful of almonds while cupping, and the associations lock in far faster.
Common mistakes
- Cupping too many coffees at once. Four is plenty; palate fatigue is real after six.
- Comparing coffees at different ages off roast. Match roast dates within a week where possible.
- Using tap water heavy in chlorine, which flattens everything equally and hides the differences you came to find.
- Talking during the first pass. Someone saying "blueberry" out loud will make everyone else taste blueberry.
Turn it into buying decisions
Keep notes with roaster, origin, process and roast date. After a dozen sessions, patterns appear: perhaps you consistently rate washed Kenyans highly and consistently find naturals boozy, or you prefer body over clarity. That pattern is worth more than any review, because it is about your palate rather than someone else's.
Keep a descriptive record before scoring
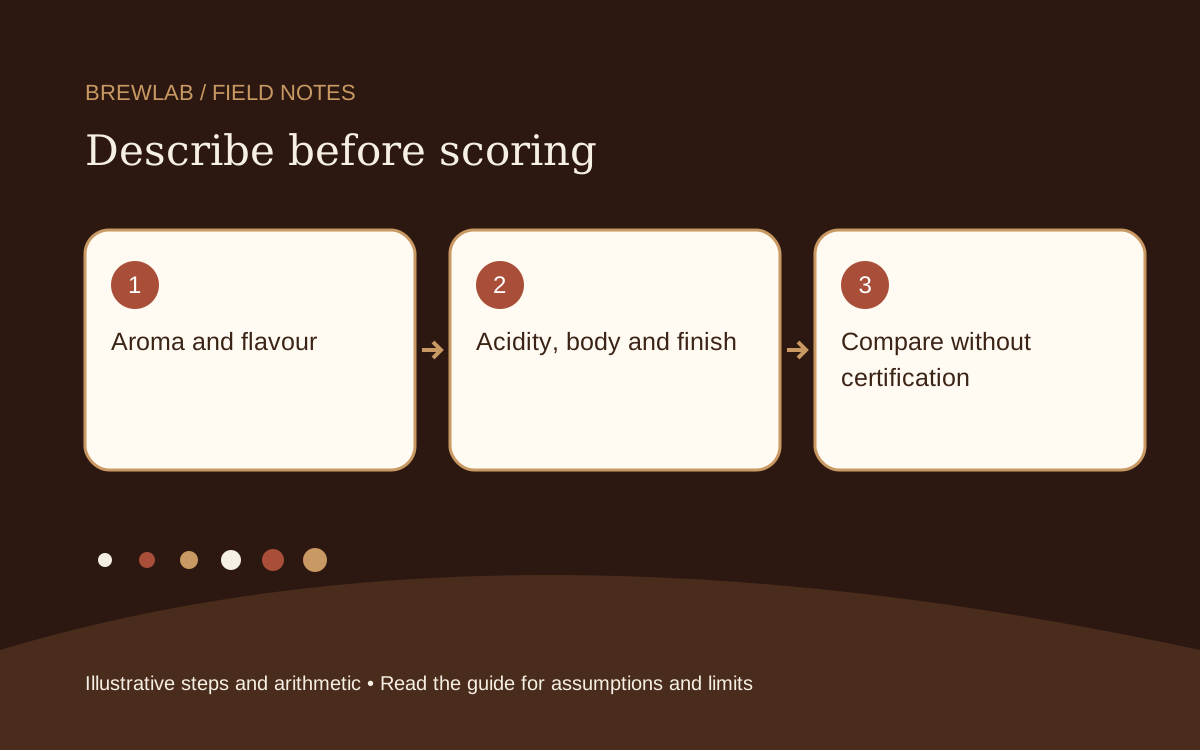
Name samples A and B and prepare equal doses and water in matching vessels. Write separate observations for aroma, acidity, body and finish before revealing the labels. Record temperature stage and preparation differences. Use the legacy practice calculator only if that is the format you intend; for professional CVA work, use the current SCA preparation and assessment standards. Do not convert this small home comparison into a certified quality score.
References and scope
Reviewed November 5, 2026. References support the named background topics; the comparison plans and arithmetic above are illustrative, not claimed equipment tests. Follow the instructions for your own equipment.